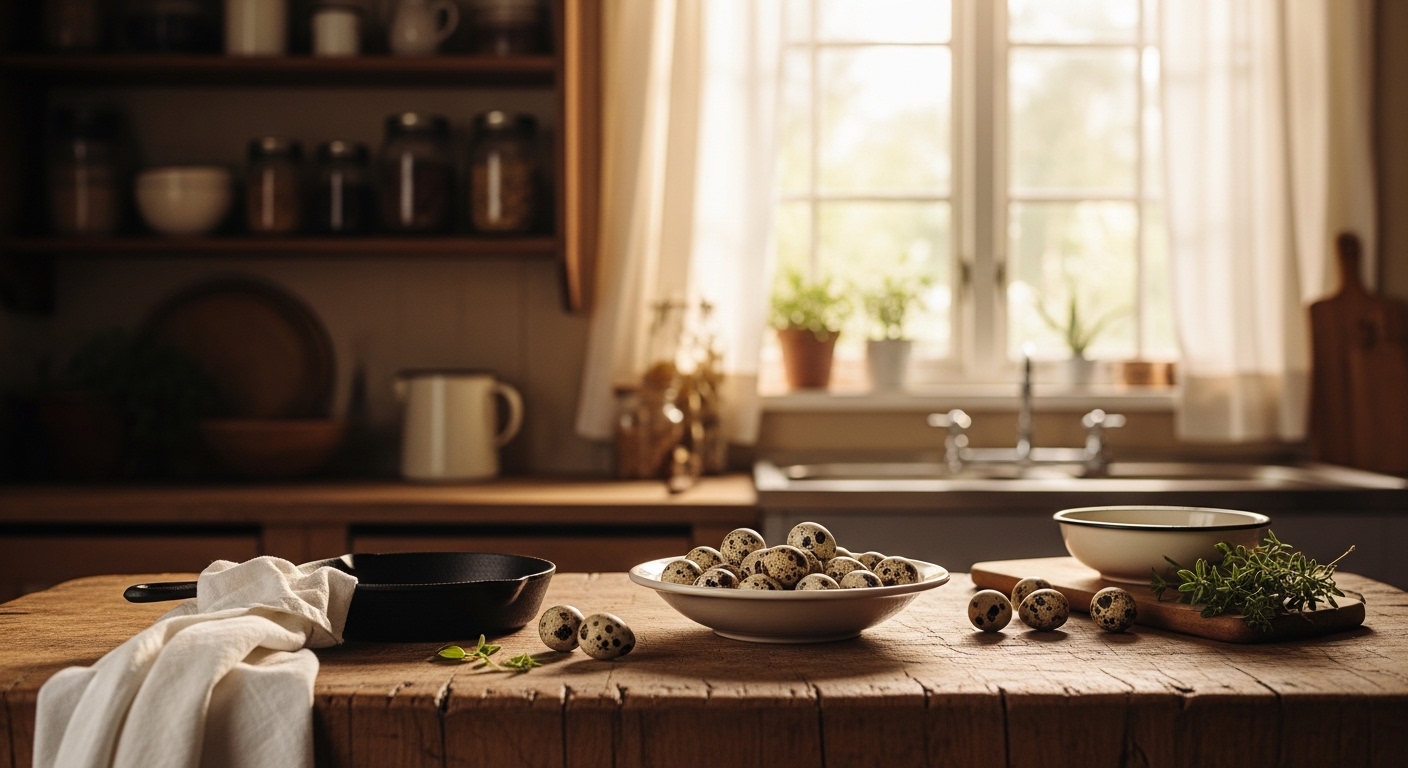
How to Prepare Quail Eggs
Tips and tricks that take the mystery out of the thin shell — so every egg ends up on the plate, not the counter.
The hardest part of cooking with quail eggs is the first one — once you learn the trick to the shell, everything else is faster and more forgiving than a chicken egg.
Cracking the Shell
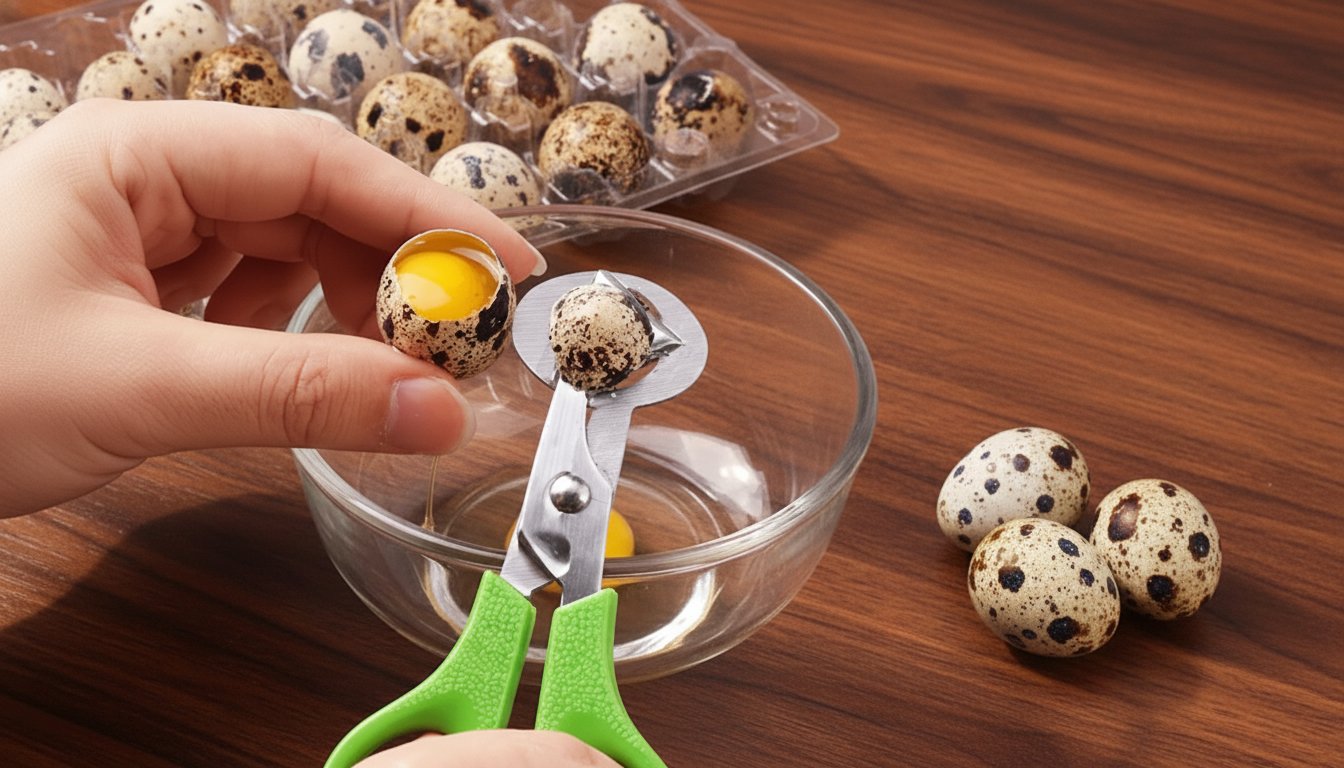
Quail eggshells are thin and the membrane underneath is surprisingly tough — which is why a small spring-loaded egg topper is the cleanest tool for the job. Here's how to use one:
- 01Place the egg upright in a small egg cup so the pointed top sticks out above the rim.
- 02Slide the scissors' circular ring over the top of the egg, squeeze the handles in one smooth motion — the blade snips the shell cleanly in a perfect circle.
- 03Lift the top off like a tiny lid. The membrane tears away with the shell and the yolk stays intact, ready to eat from the shell or slide onto a plate.
A small paring knife works too — hold the egg on its side, saw gently around the equator, then lift off the top half like a lid. For scrambling, just crack several into a wide bowl before whisking.
Soft Boiling
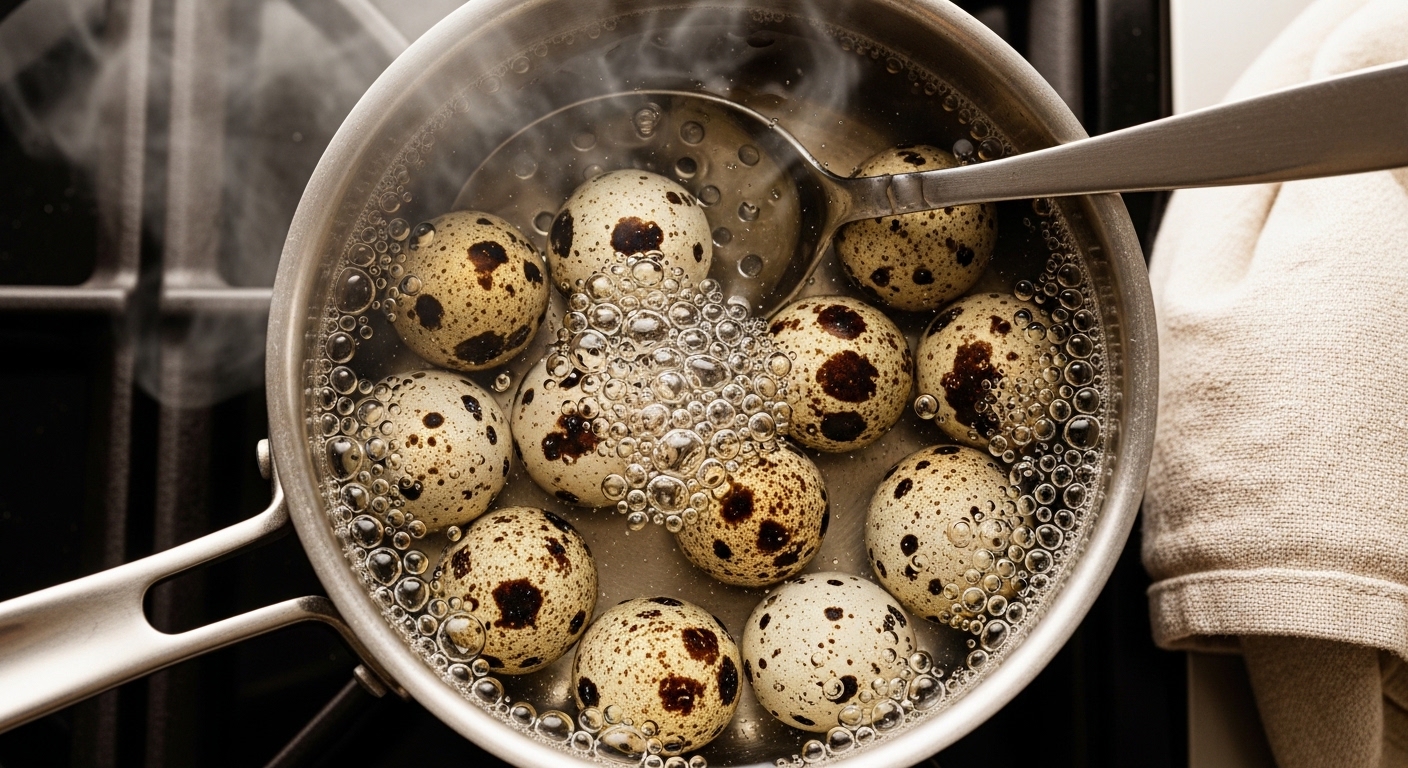
This is where quail eggs shine. Bring water to a rolling boil, lower the eggs in with a slotted spoon, and time it:
- 2mRunny yolk, set white — perfect on a salad or over toast.
- 2½Jammy yolk — the sweet spot for ramen, canapés, and snacking.
- 4Fully hard-boiled — ideal for pickling or deviling.
Drop them straight into an ice bath when the timer goes off, and peel under cool running water. The shell comes off in strips.
Frying & Scrambling
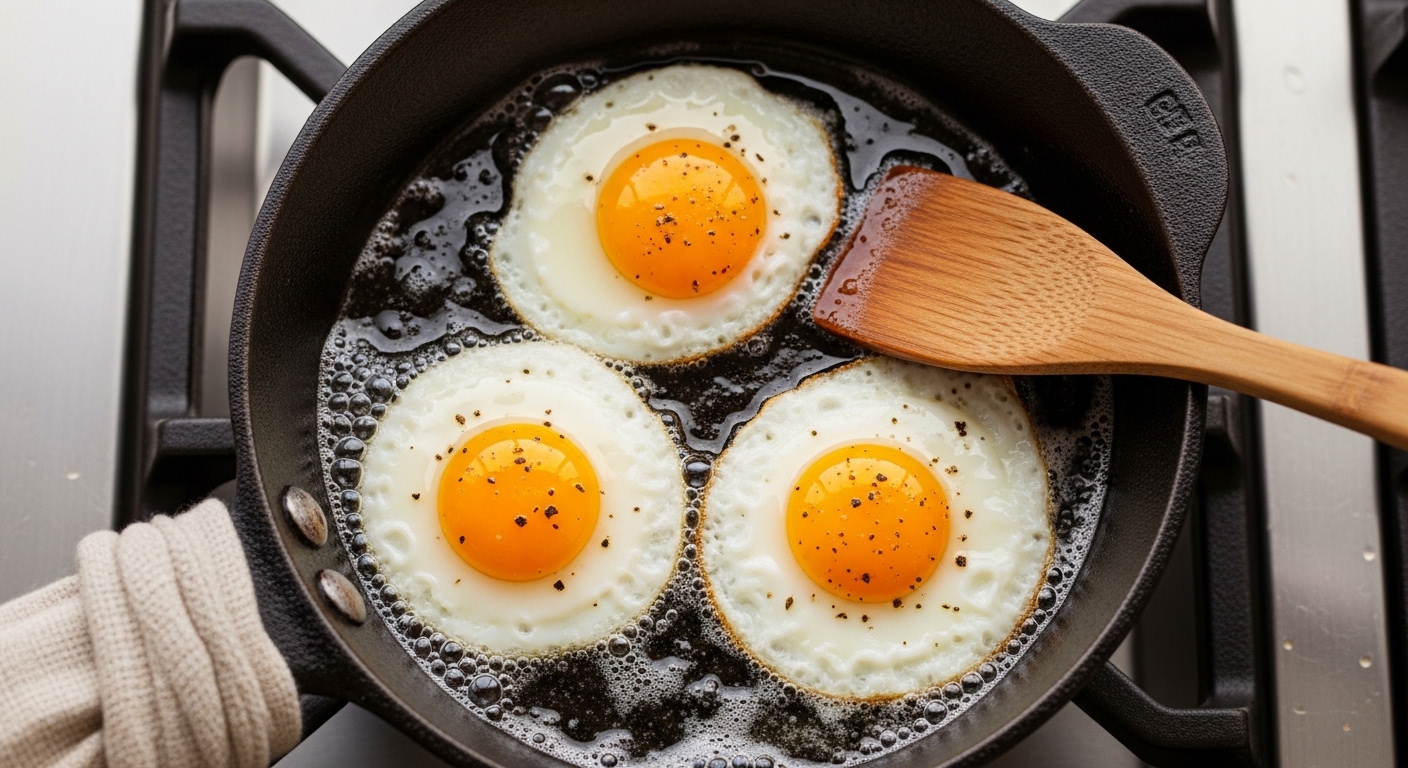
Use a small pan — an 8-inch nonstick fits three or four fried eggs neatly. Medium-low heat, a little butter, and they're done in about 90 seconds sunny-side up. For scrambles, count on five to six eggs per person.
Farm-fresh quail eggs keep refrigerated for up to six weeks with the bloom intact. Don't wash them until you're ready to cook.
Continue Reading
Ready to cook?
Check Availability